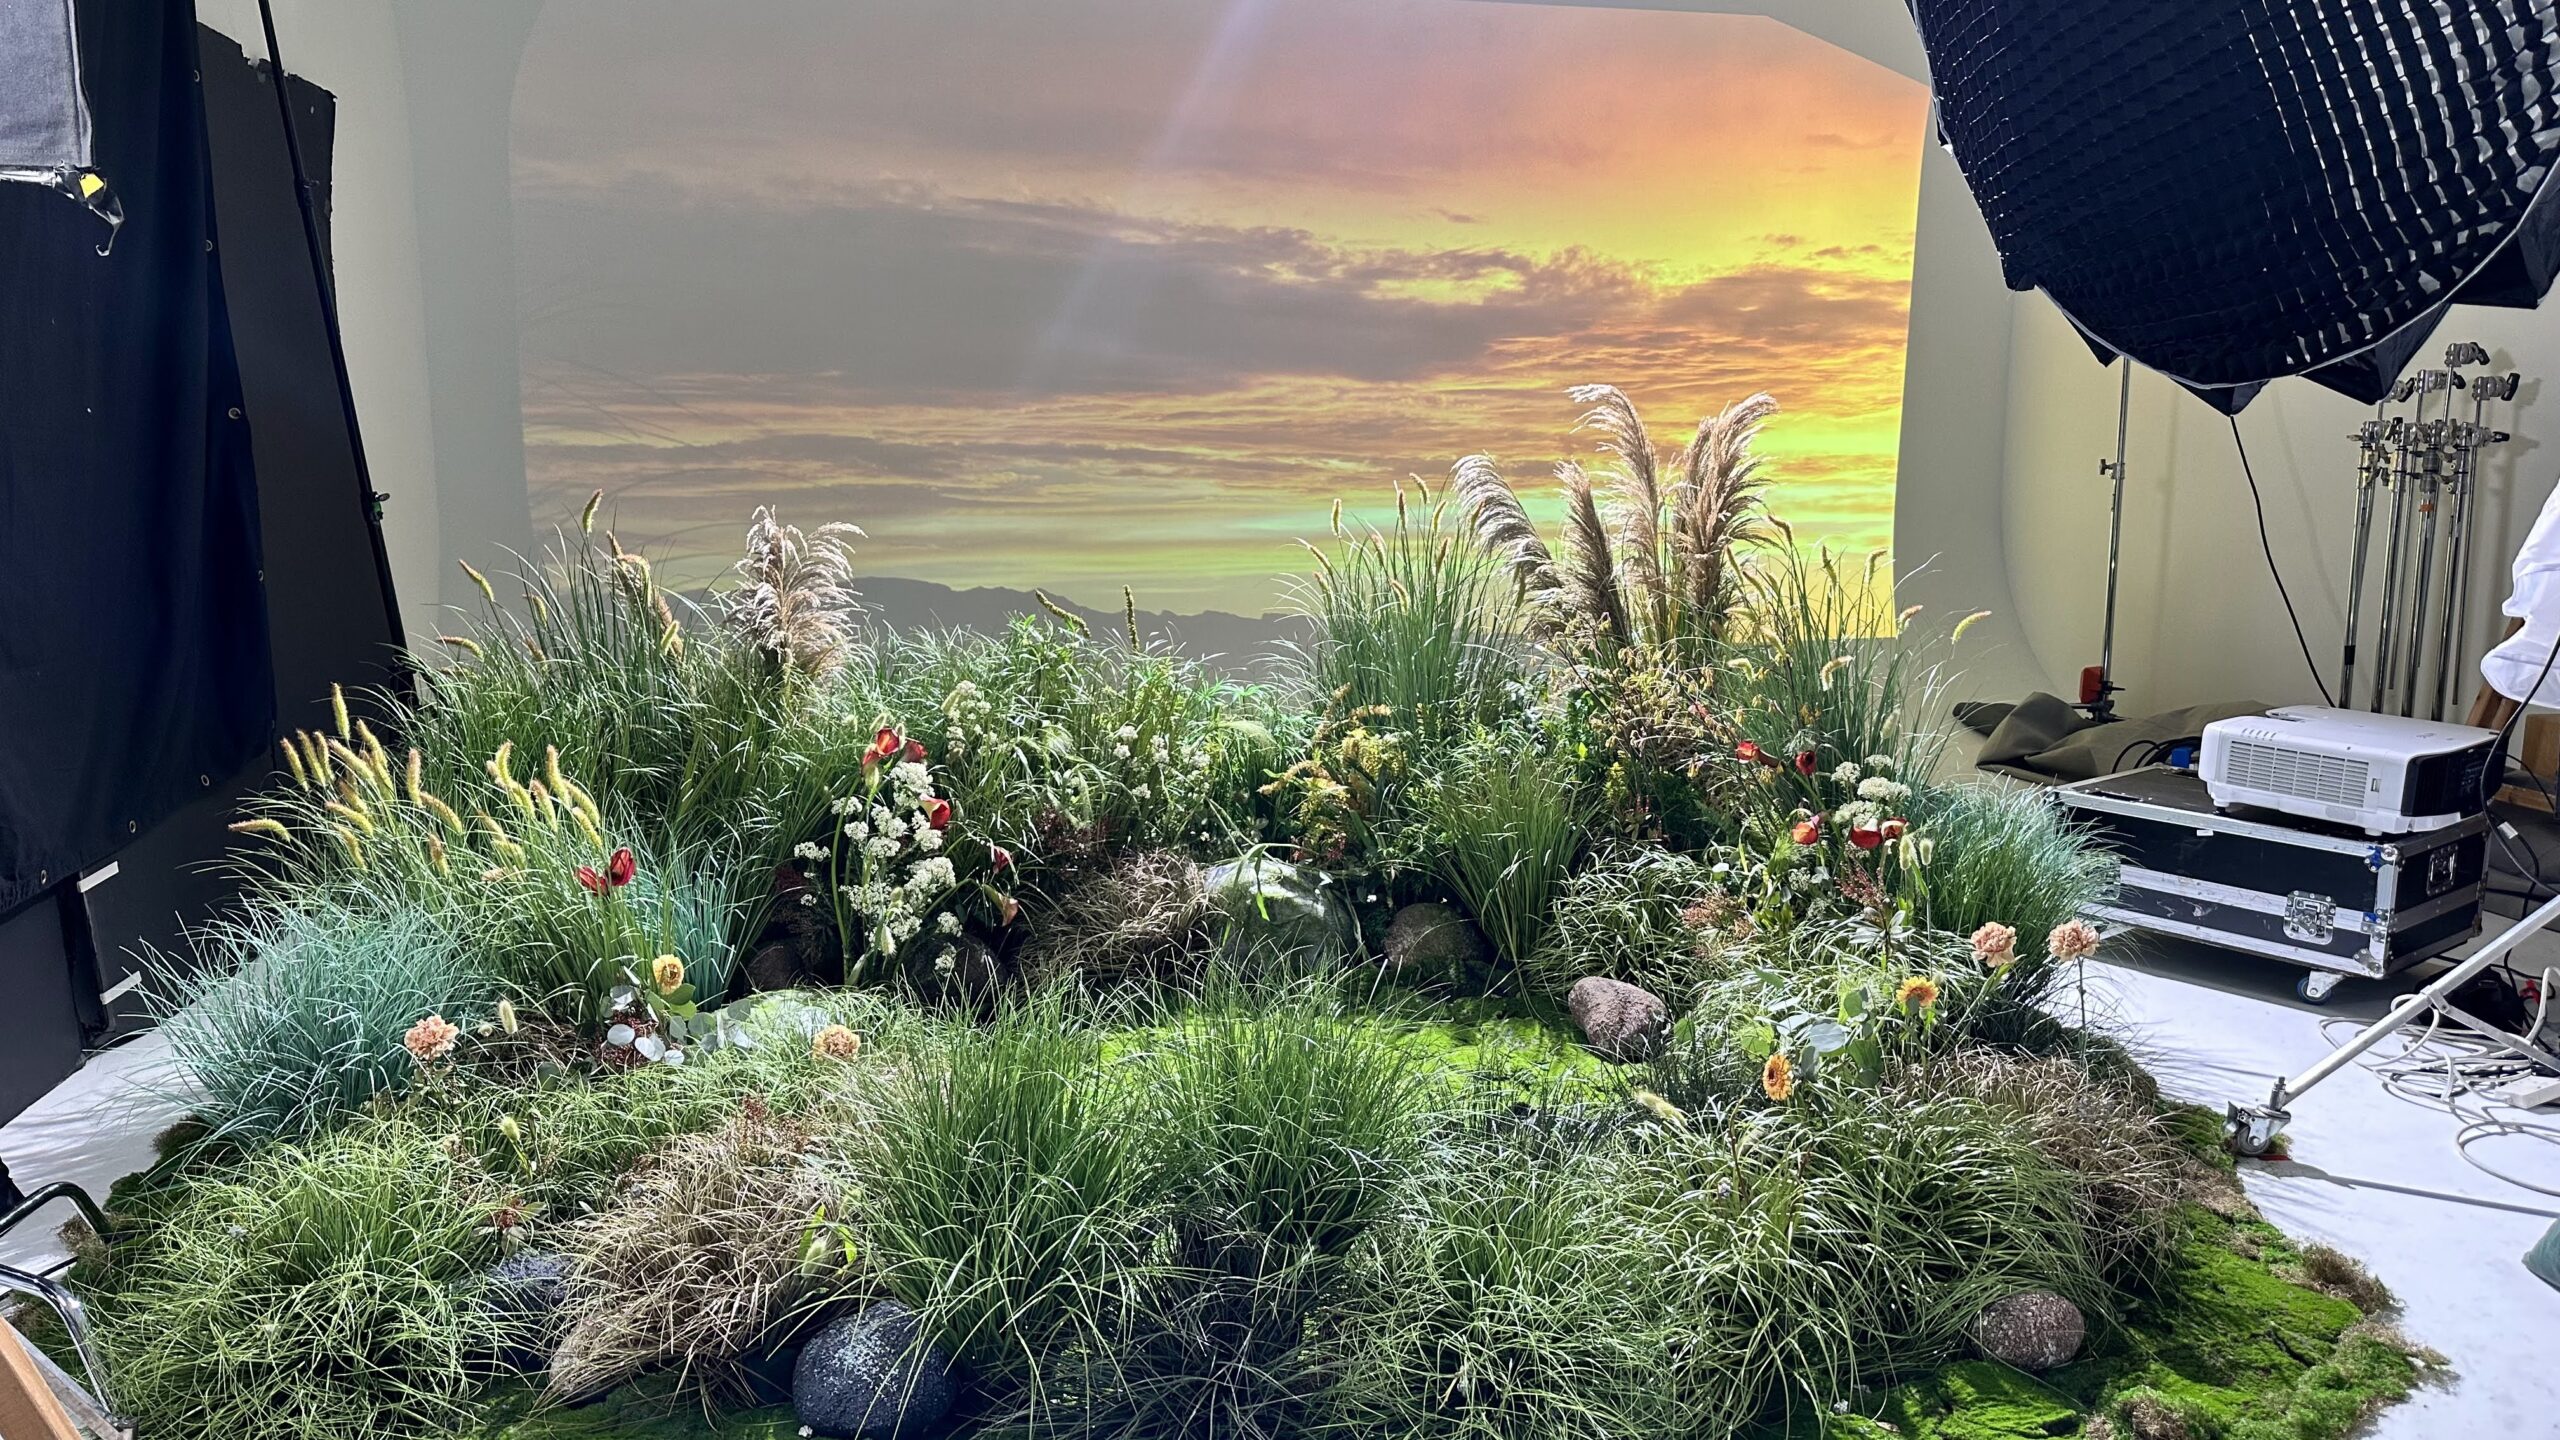
Using Projectors for Virtual Photography: A New Frontier
Virtual photography has gained popularity in recent years, as it allows photographers to experiment with various scenes, lighting, and special effects without the constraints of the physical world. One promising tool for virtual photography is the projector. In this article, we’ll explore the potential of projectors in the realm of virtual photography and discuss some considerations when incorporating them into your creative process.
The Power of Projection
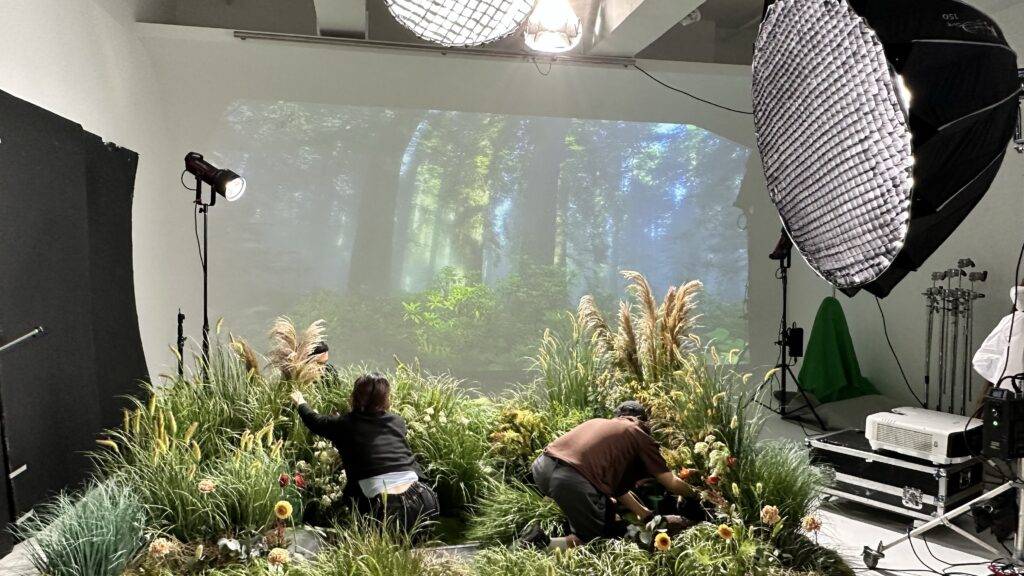
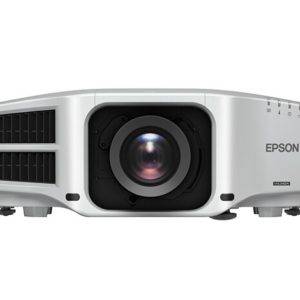
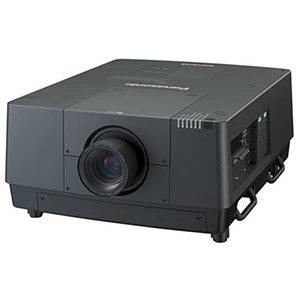
Projectors can be used to display images or video onto surfaces such as walls, ceilings, or even physical objects, essentially transforming them into dynamic backdrops for your virtual photography sessions. This opens up a wealth of creative possibilities, including:
- Dynamic backgrounds: By projecting videos or animated images, you can create a living background for your subjects, adding depth and motion to your photographs. Imagine capturing a model’s portrait against a backdrop of a beautiful, flowing waterfall or a bustling city street.
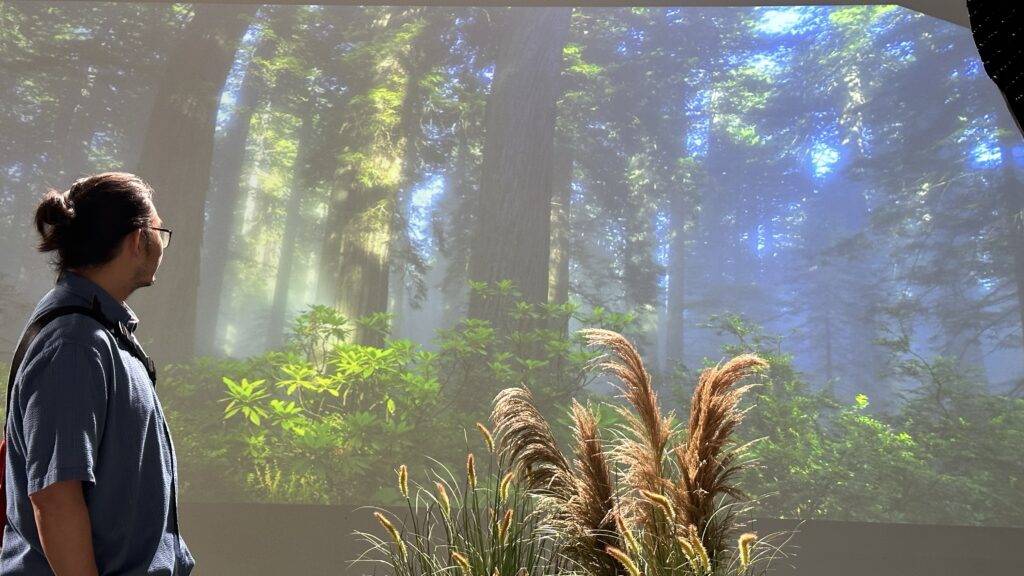
- Creative lighting: Projectors can be used to cast patterns, colors, and textures onto your subjects, allowing you to play with various lighting effects without needing to invest in expensive equipment. For example, you could project a forest scene onto your subject, creating a dappled sunlight effect, or cast geometric patterns to produce abstract, futuristic images.
- Mixed reality: By combining the physical and virtual worlds, you can create unique, otherworldly images that push the boundaries of traditional photography. For instance, you could project a virtual environment onto a real-life room, then place your subject within this hybrid space.
Considerations for Using Projectors in Virtual Photography
When incorporating projectors into your virtual photography setup, there are several factors to consider:
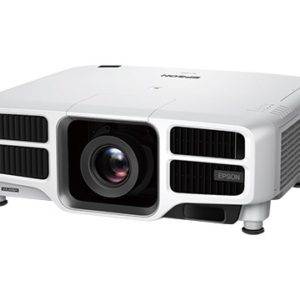
- Projector specifications: Look for projectors with high resolution, brightness, and contrast ratios to ensure the best image quality. Additionally, consider the throw distance and image size, as these factors will affect the positioning and flexibility of your setup.
- Surface quality: The surface onto which you project your images will have a significant impact on the final result. Smooth, light-colored surfaces tend to work best, as they provide a more uniform and accurate representation of the projected image.
- Ambient light: Be mindful of the ambient light in your shooting area, as it can wash out the colors and contrast of your projected images. To maximize the impact of your projections, aim for a dark environment with minimal light pollution.
- Camera settings: Experiment with your camera’s settings to capture the best results. You may need to adjust the exposure time, ISO, and aperture to achieve the desired balance between the projected image and your subject.
- Post-processing: As with any photography, post-processing can be an essential step in refining your images. Use editing software to adjust the color balance, contrast, and other aspects of your photographs to bring out the best in your projections.
With the right equipment and a little creativity, projectors can become a powerful tool for virtual photographers. By incorporating projection into your workflow, you can push the limits of your art and create truly unique images that stand out from the crowd.





你必須登入才能發表留言。